My Projects
Record what makes me happy and share it with the world!
You're looking at it! This website is built with Vue.js, Nuxt JS and Tailwind CSS. It's hosted on AWS Amplify, which provides free hosting for small static websites such as this. The Vue.js framework enables me to make automated HTML, such as this page, which uses a Vue for loop to iterate over all of my projects. The project information is stored in a JSON (JavaScript Object Notation) file, and the .vue file responsible for this page structures and styles the content, making it easy to keep content and formatting individually organized. With its shorthand notation of common styling, Tailwind enables quick adjustment of the appearance of pages, including adding breakpoints for responsive web development (try adjusting the page size!).

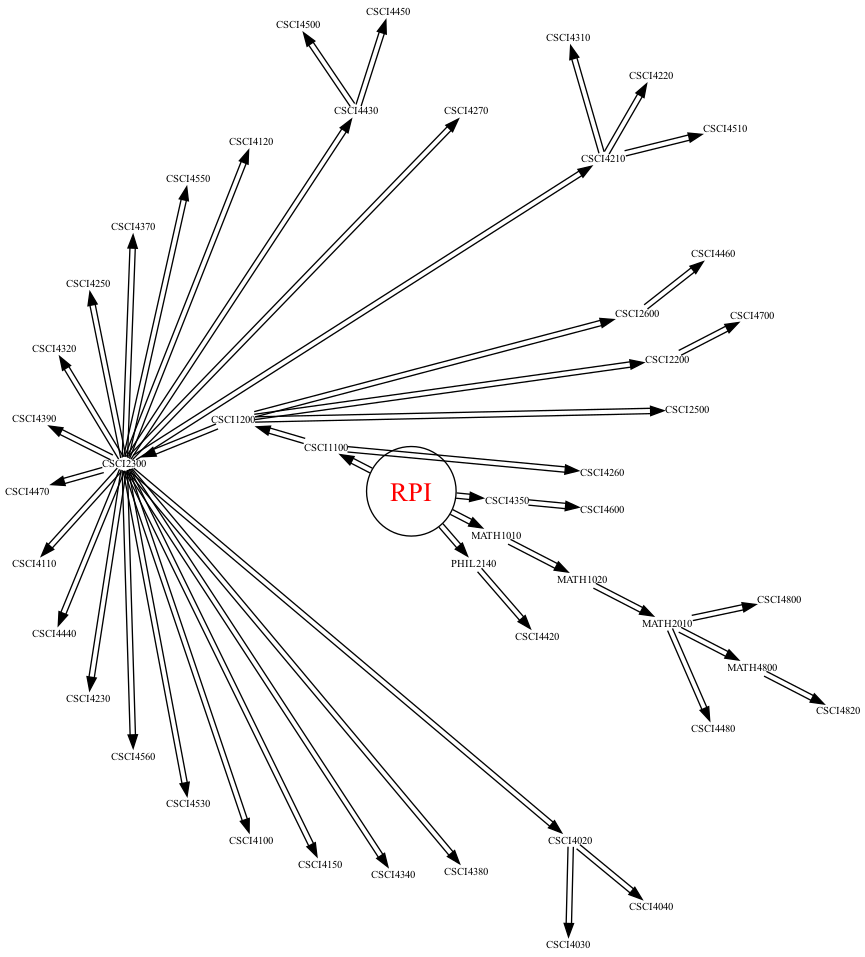
Crawl the RPI course catalog and display course progressions in an interactive map!
I use two programs to reach the goal: one web crawls the RPI course catalog and parses the course information to create a database while the second creates and displays a graphical representation of the database. In the crawling step, I use Python's requests and beautifulsoup4 libraries to crawl RPI's course catalog, regular expressions to extract the prerequisites for each course, and pickle to store the dictionary of Course objects. To avoid unnecessarily crawling each page multiple times, I cache the original HTML from every page. For graphical visualization, I write a DOT language file and use graphviz's twopi layout engine to display courses in a radial web graph. Currently, I’m working on using an interactive mapping software such as Rhumbl to display the courses in a easy-to-use interface. I intend to add this interactive map to RPI’s Open Source QUACs project, which is already a popular website for students to plan their courses.
Develop kits and resources for students to pursue the Wumpus Challenge!
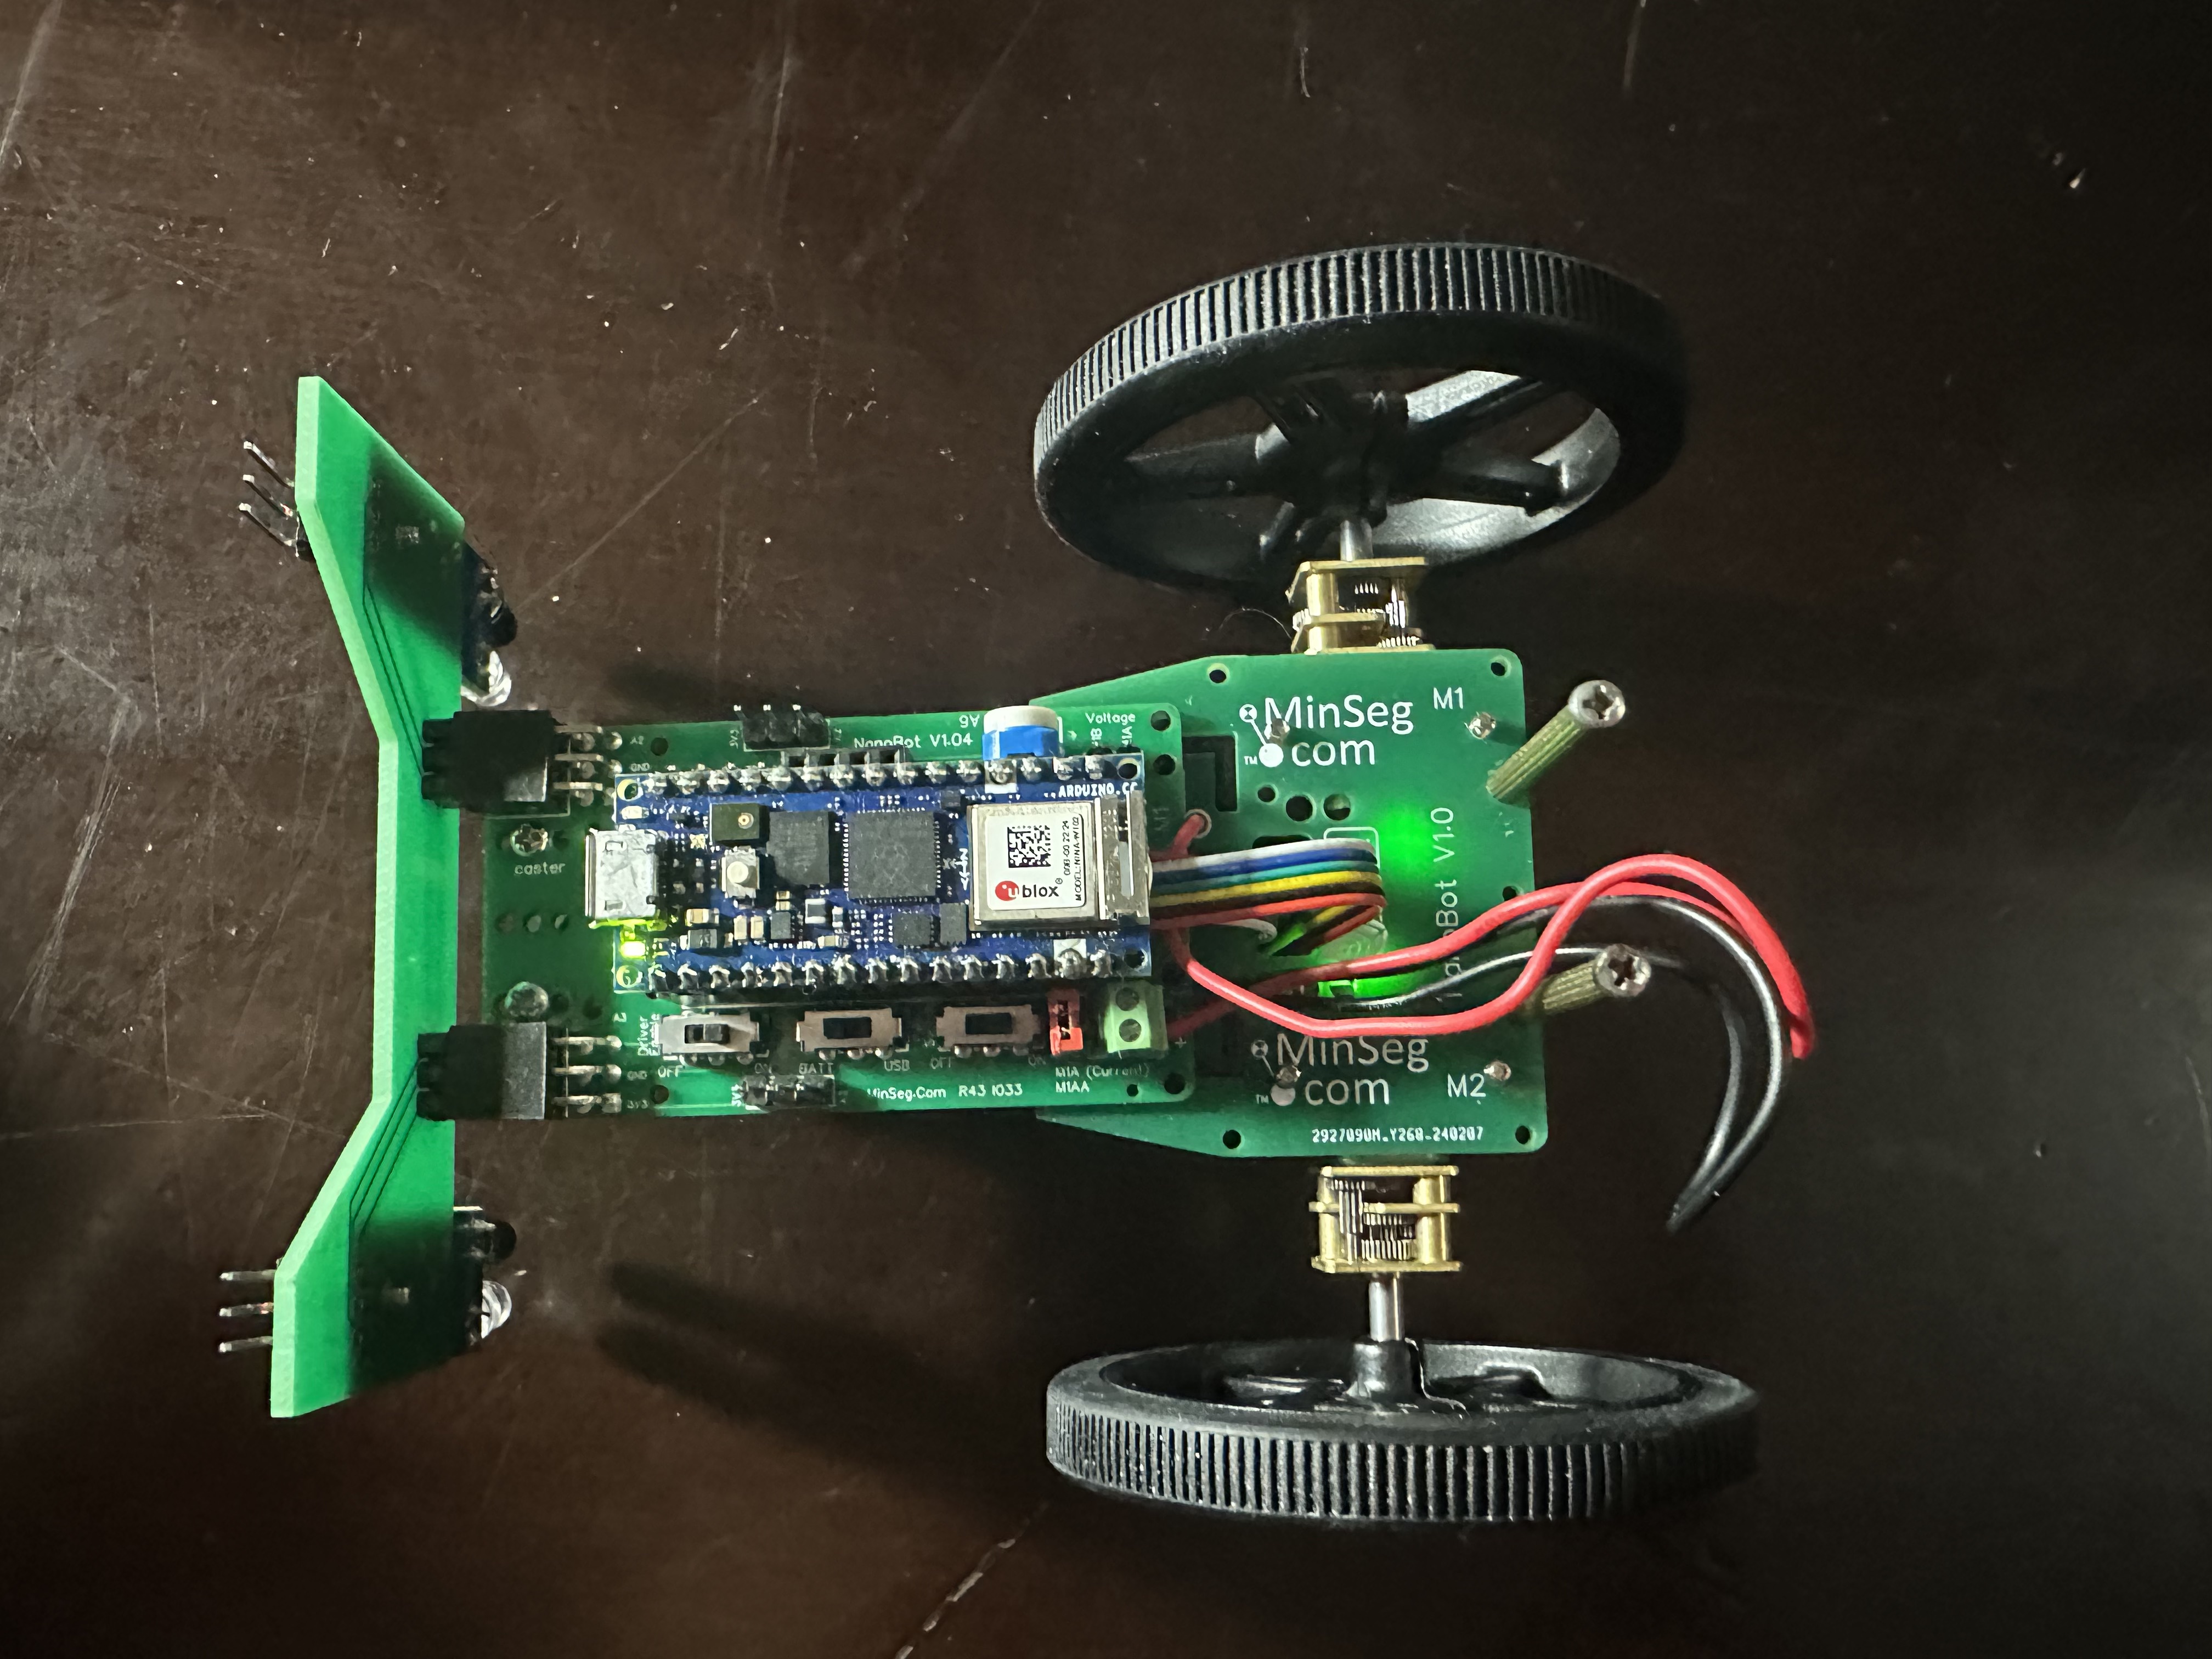
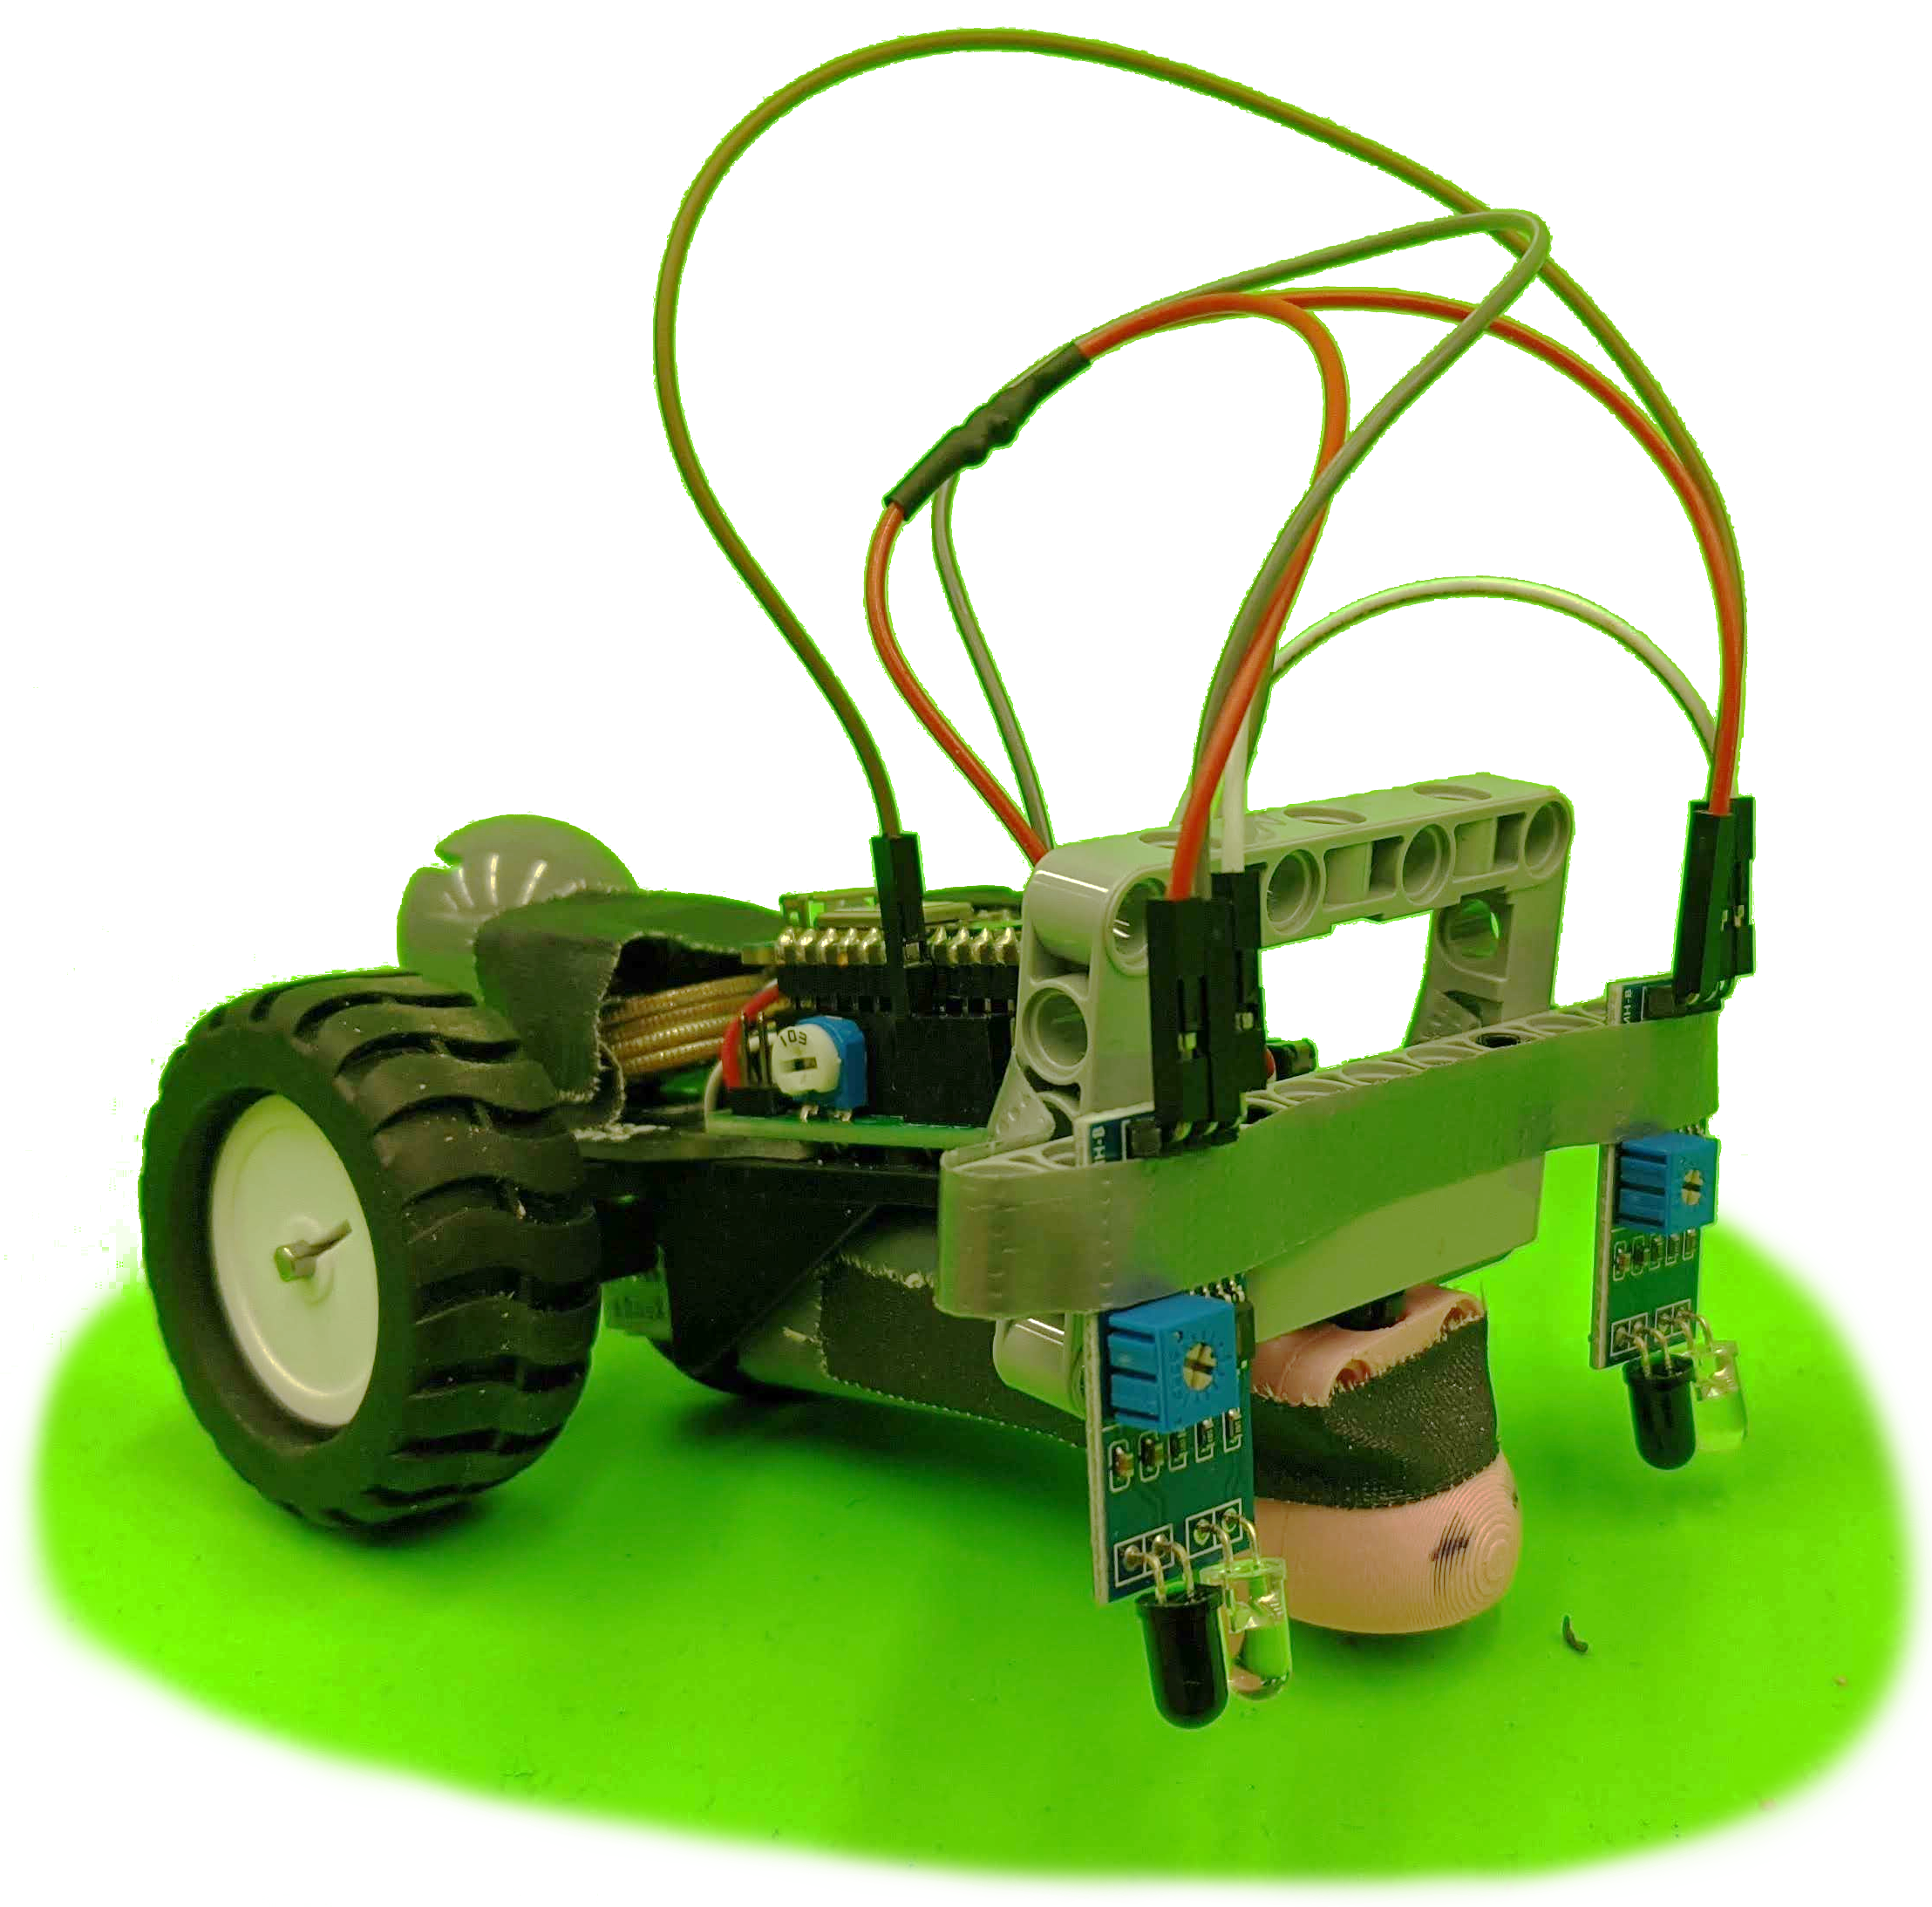
A professor from the Philosophy department was using LEGO Mindstorms for his Wumpus Challenge project, but Mindstorms was discontinued in 2022. After my partner and I solved the Wumpus Challenge using an Arduino (see project in 2023), the professor asked us to develop a kit to enable students to tackle the Wumpus challenge. I had taken a Mechatronics course with another professor in the Engineering department, who made Arduino kits for his course. I led 2 other students in designing a kit with the Electrical Engineering professor which would meet the needs of the Philosophy professor. We made changes to our previous solution to the Wumpus challenge (2023) by designing a Printed Circuit Board (PCB) for the infrared sensors, adding screw holes for the ball caster wheel in front, and rerouting pins to avoid external wiring. This project involved some soldering, Printed Circuit Board design, and the hardware and software of Arduino microcontrollers. After several iterations, we made a successful design which students will use in the Fall 2024 semester.
Design and 3D print custom shock absorbers for my own use!
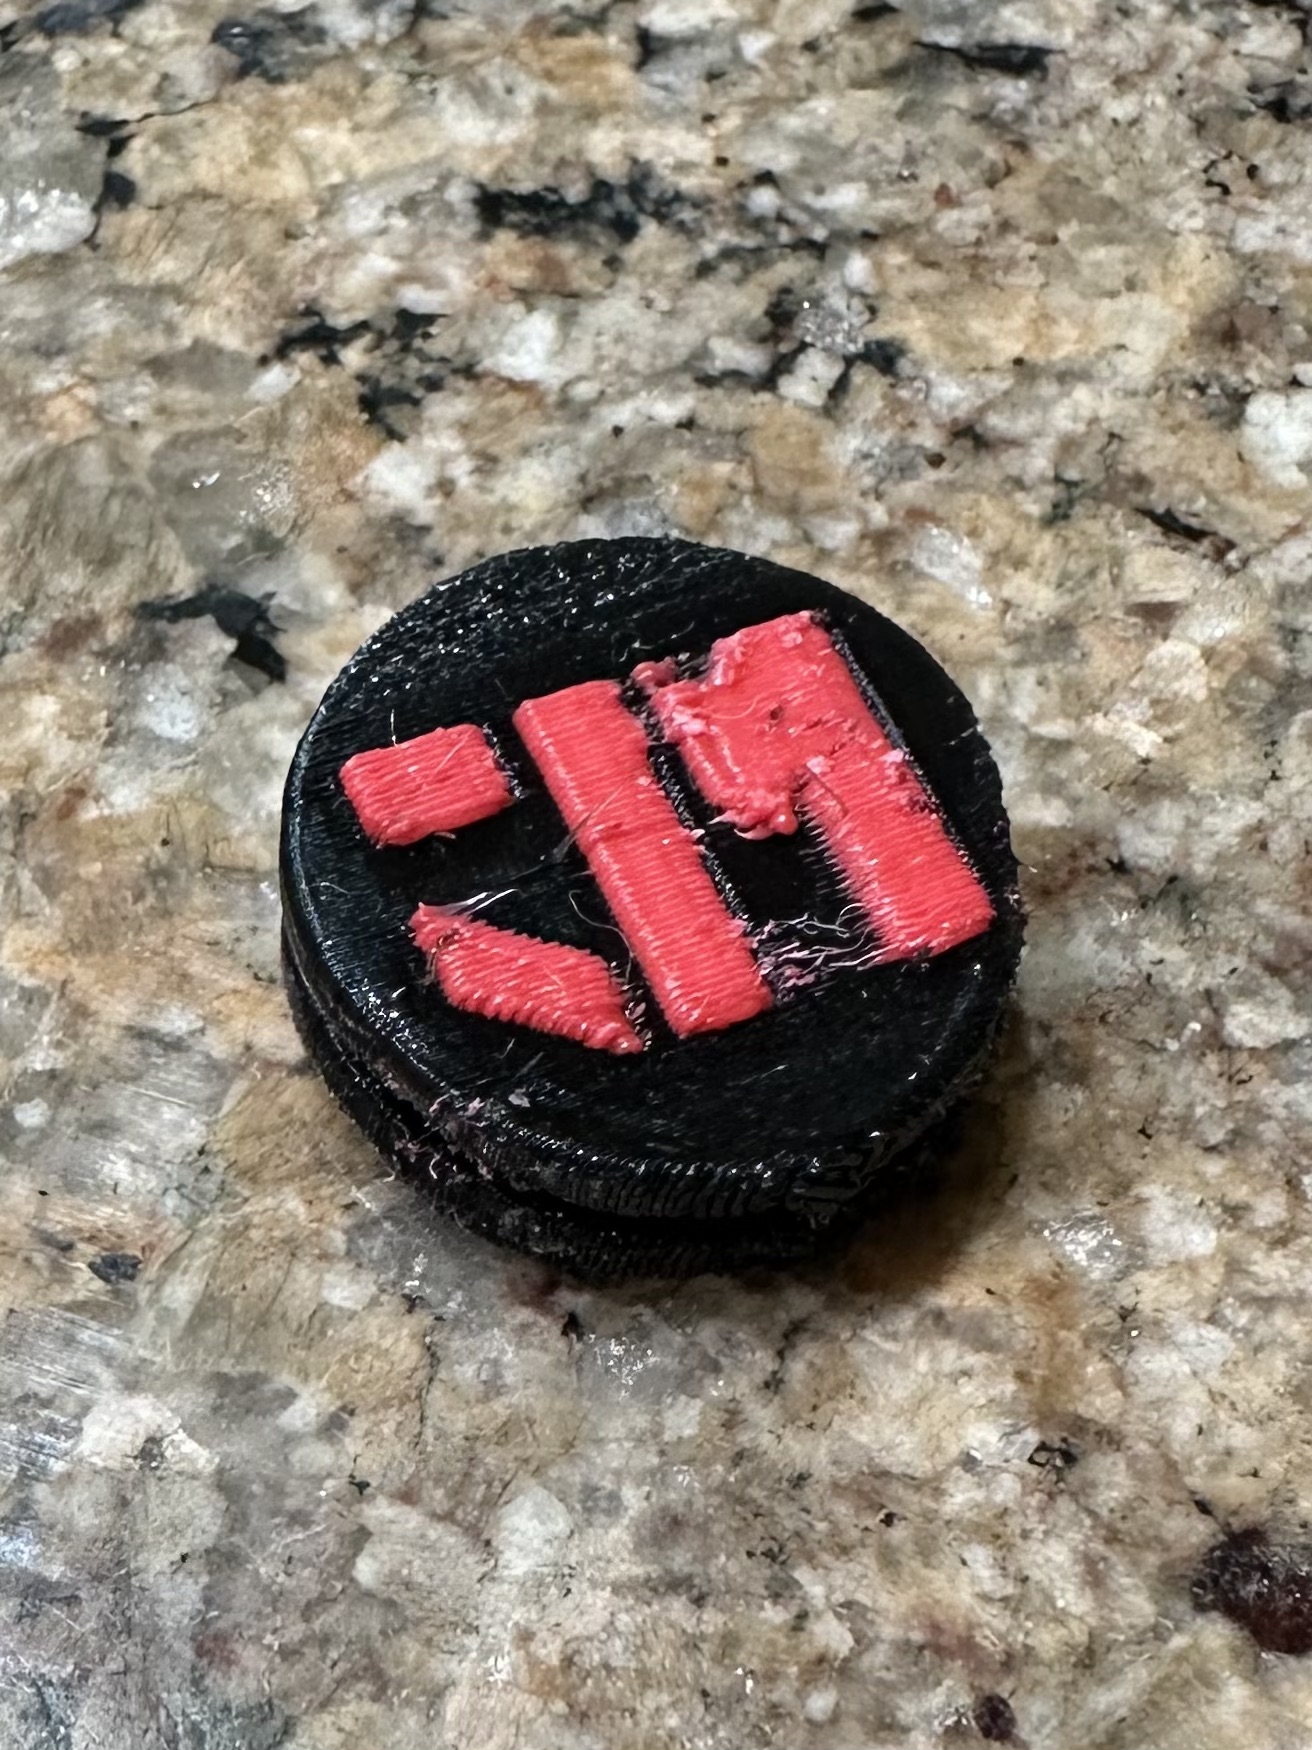
After my last shock absorber broke, I decided to try to design my own rather than buy a new one. I designed a shock absorber with the RPI logo on one side and my logo on the other, and printed it out of flexible TPU (Thermoplastic polyurethane) filament using my Prusa XL Multicolor. I embedded my logo and the RPI logo into the shock absorber to increase cohesion between the black and red TPU filaments. I iterated on the print settings and enlarged the features as much as I could, because the printer struggles with sub-millimeter details. The details were not very fine, but the shock absorber functions very well. Printing this part was very challenging because it's circular, so it requires a raft and a lot of supports to print. If I tried this again, perhaps I would design a square shock absorber.
Assemble and program a robot to solve the Wumpus Challenge!
My partner and I adapted the Rensselaer MinSeg Motor Kit and programmed an Arduino Nano 33 IoT using ArduinoC++ to solve the Wumpus Challenge. Some notable functionality from our project includes reading motor encoders and implementing a basic PID loop to reach target motor positions, creating and maintaining a Bluetooth Light connection between the Arduino and a phone, and connecting and reading infrared sensors for line detection. Additionally, we developed a lightweight algorithm which stores known information about the board and makes logical deductions from it to solve the puzzle. We also made a website using Vue.js with Nuxt and hosted on Amazon Web Services Amplify to document our meetings and results.
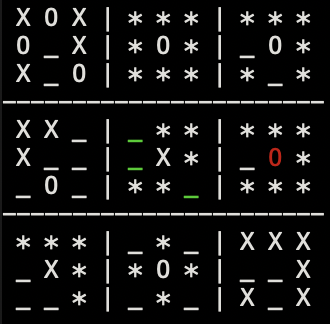
Develop an intelligent computer player to excel at 9x9 Tic Tac Toe!
Written in Rust Lang, my first version used a traditional minimax algorithm and a point-based rating system. Since then, I have strengthened the algorithm by making it threaded. With its multiple threads, it is constantly "thinking" by using a work queue to build a decision tree breadth first. The tree stores all the computed future boards (amounting to ~5 moves in advance due to the exponential growth of potential boards as it looks into the future). I've also improved the rating algorithm to use probability rather than points, because probability (the chance of winning a board) is robust to all of the strange board arrangements which could tickle bugs in the point-based rating (1 point for each X, 4 points for 2 in a row, etc.). With these changes, I've seen significant improvement in how it plays the game.
Create and market a web app which fosters honest debate about school wide issues!
UpDownLHS is an open source Progressive Web App (PWA) for high schoolers, designed to spark conversation about major issues in the school community. UpDown provides Student Senators with a framework to view issues students find pertinent and draft legislation to fix them. Its server is multi-threaded and uses Python's shelve databases with thread locking to store data reliably. It assigns each user a 32 hex digit uuid and sets cookies for sign-in. In addition to 9 viewable web pages, UpDown handles many more behind the scenes requests using Asynchronous JavaScript and XML (AJAX). UpDown's AJAX retrieves data upon the user's request and animates the DOM. While developing the app, I enjoyed designing page layouts, selecting color themes and making the UpDown icon.
Create a chest protector for a disabled dog!
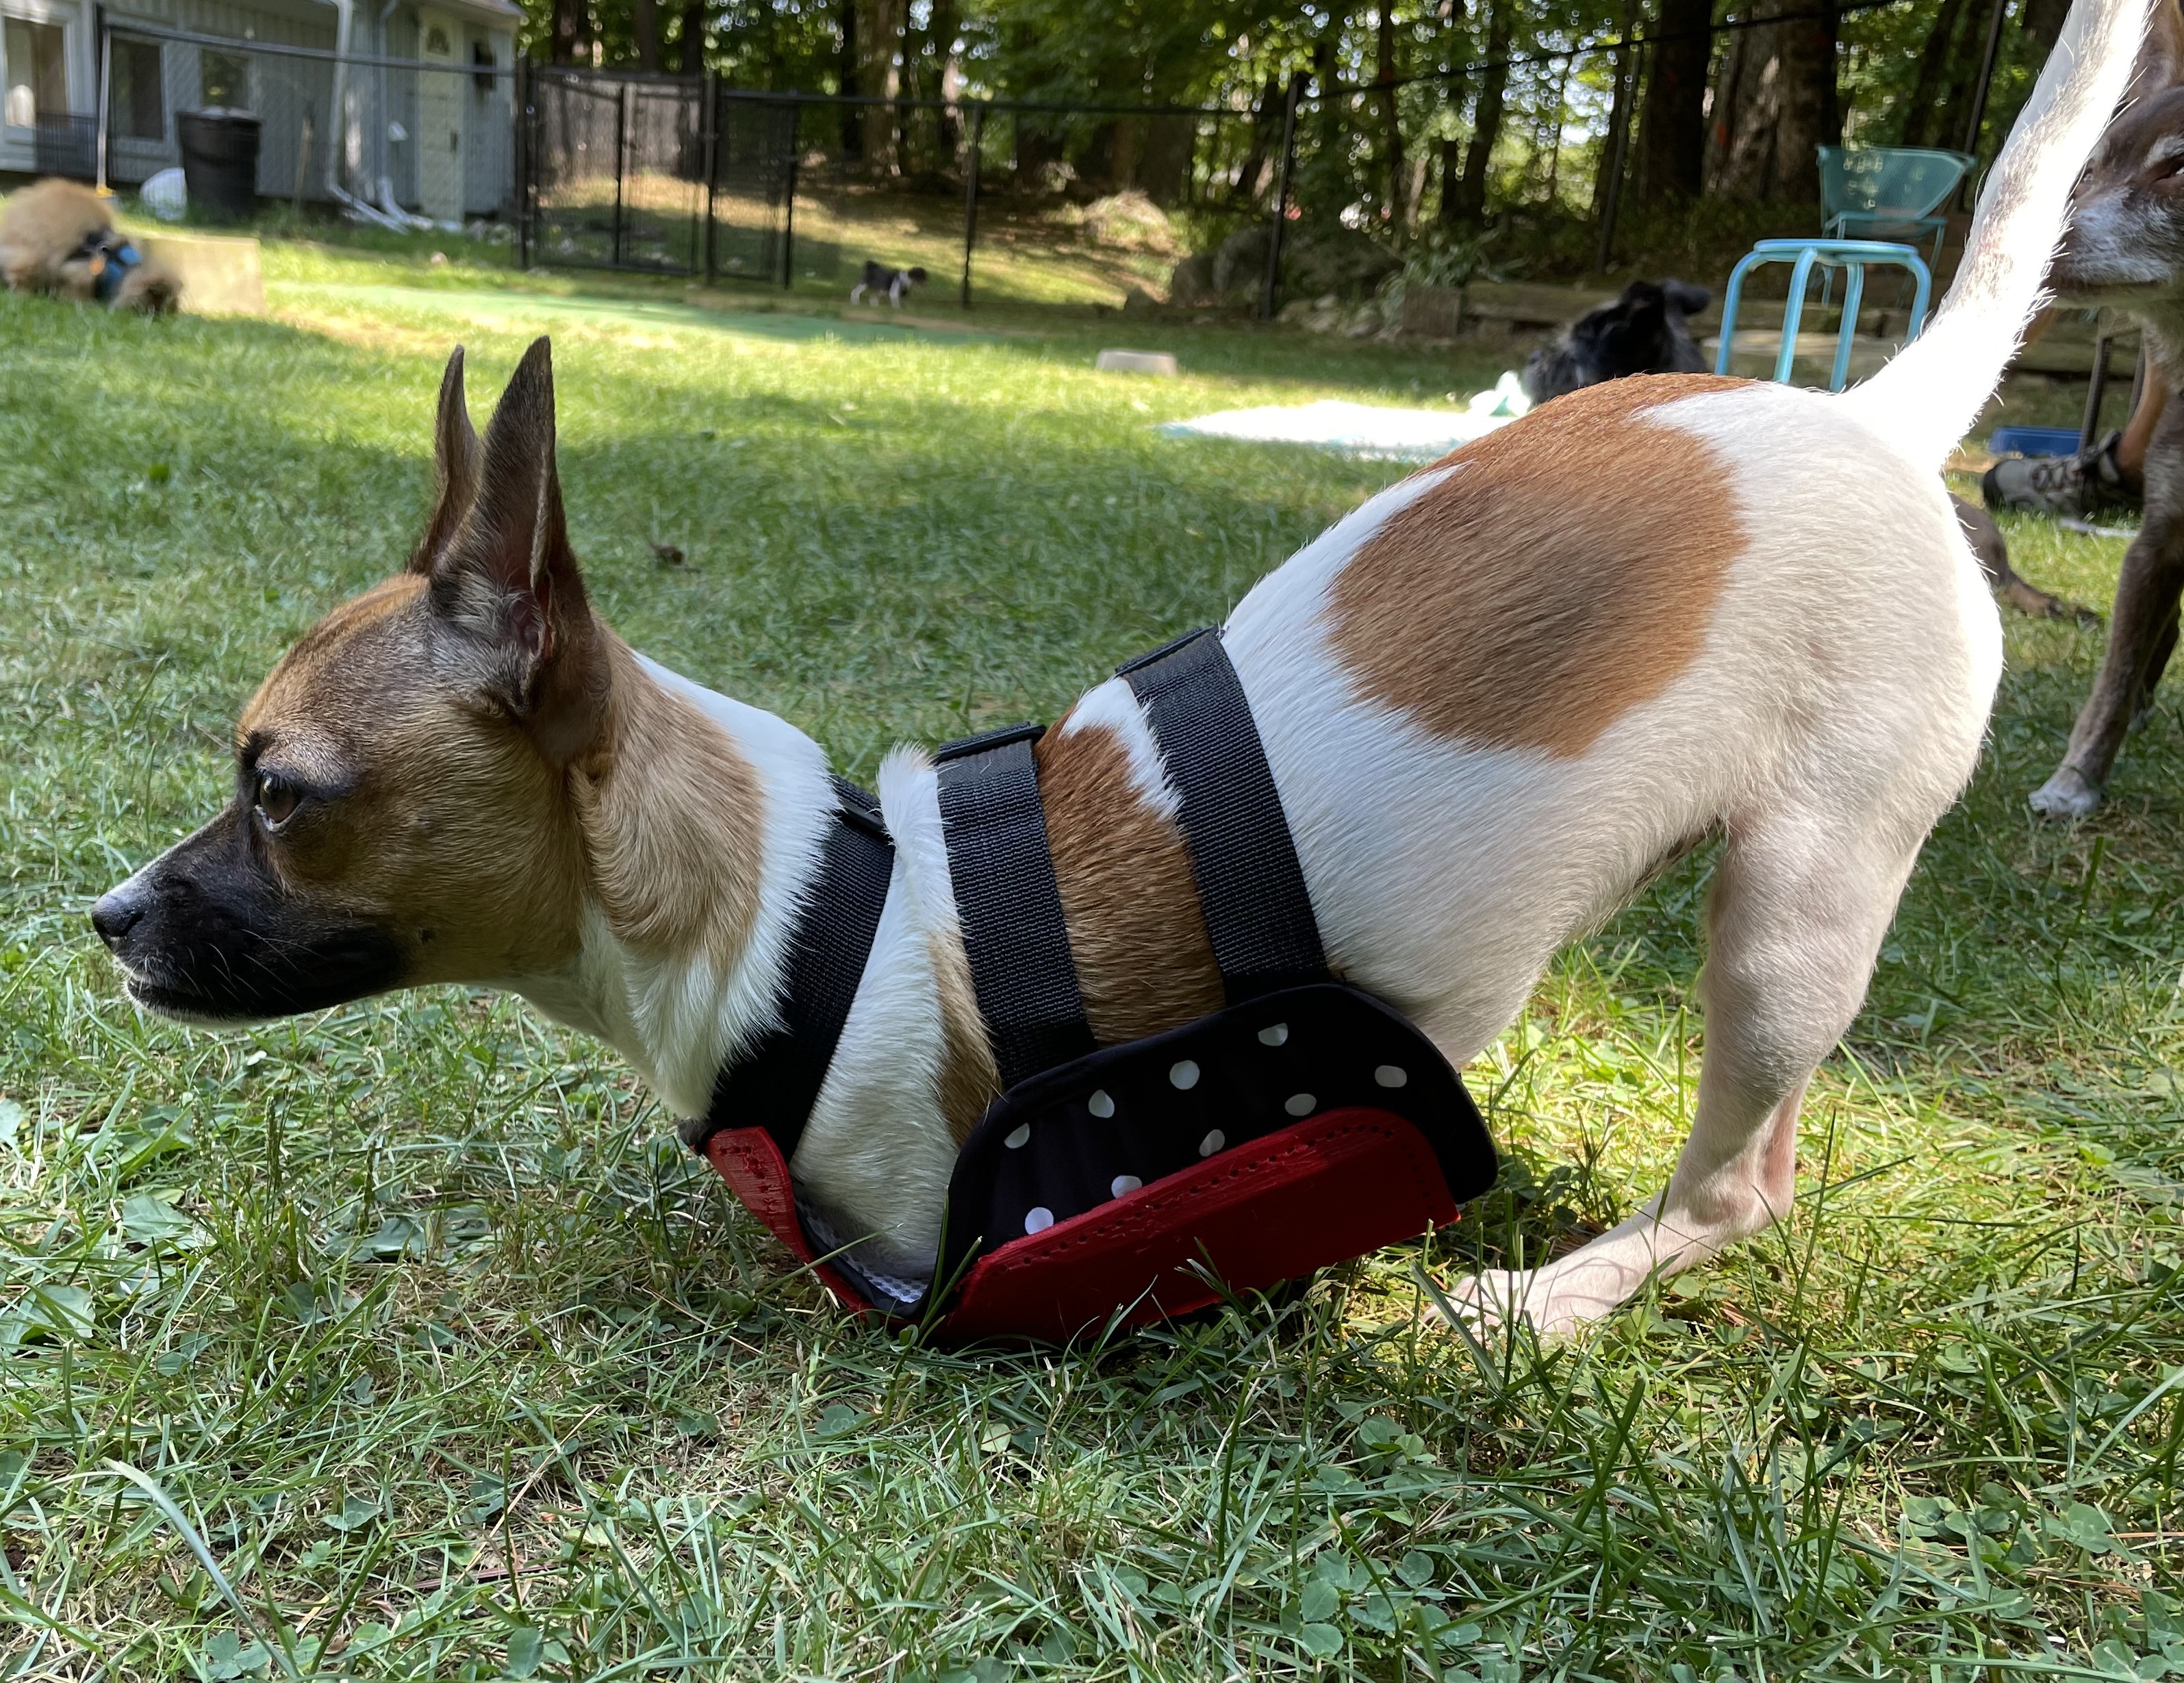
I heard about this project from a Lexington school teacher who was looking for someone to help a dog, named Joey, who was born without front legs. Joey had learned to hop on his hind legs like a kangaroo but slammed his chest on the ground whenever he lost his balance. He needed a chest protector that would absorb the shock of his falls, but such a product was not available on the commercial market, so I designed one for him. I scanned his body using the Lidar sensor on a phone, used Fusion 360 to design a prototype, and 3D printed it out of flexible TPU filament. Upon testing, I realized that I had to prioritize safety, comfort, and convenience as my initial protector was too rough, had inadequate padding, and slid up and down his chest. In later versions, I devised smoother surfaces, thicker padding, and a more secure harness.
Design and manufacture custom gifts for friends!
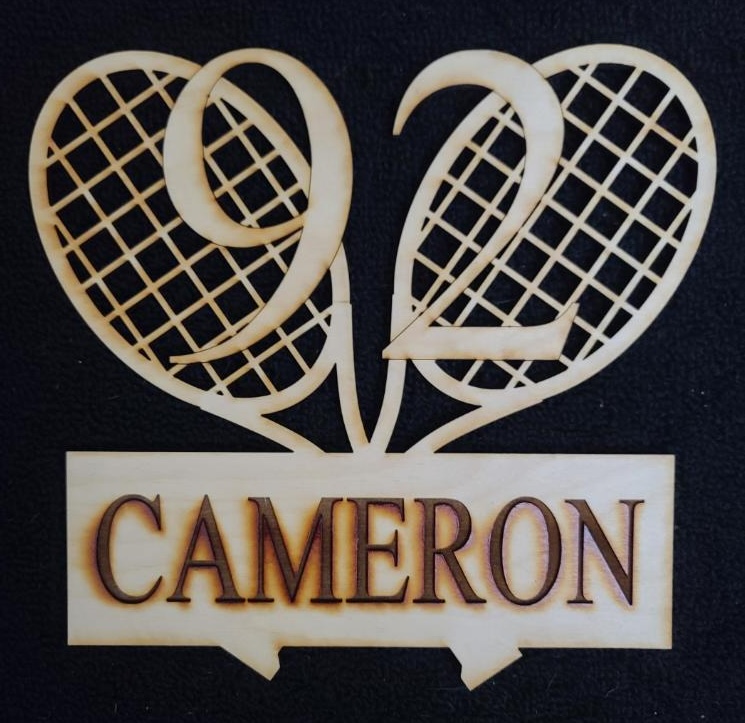
To spread my love for making, I like to design unique, personalized gifts. For a cake topper for an informal wedding celebration, I laser cut a heart with names out of acrylic, to be hung later as a wall decoration. I downloaded the heart from the internet and used Lightburn to add text and customize it. As a housewarming gift, I made a custom house plaque with the house number, family surname, and tennis rackets to represent their favorite pastime. It is also laser cut, but out of wood, so I decided to etch the name rather than cut it; this darkened the wood but did not remove it. Making the house number required using multiple layers in Lightburn, each with a different setting, to produce varying depths and darknesses.
Write a program which solves substitution ciphers using (intelligent) brute force!
This project started as a Caesar cipher challenge from a high school teacher. Caesar ciphers are a type of substitution cipher, which is a cipher where each letter is replaced by another unique letter. In Caesar ciphers, the remapping is organized by shifting letters a defined value down the alphabet, a process often visualized by a pair of inner and outer revolvable alphabetic wheels. Caesar ciphers are straightforward for a computer to solve, because there are only 25 possible shifts. After solving the Caesar ciphers, I wanted to write a program that would solve any substitution cipher, which is much more challenging because there are 26! = 2.092279e+13 possible substitution ciphers. The program works recursively by matching encrypted words to potential decryptions 1 word at a time, and seeing if the decryption key created works for the other words. A later addition was to try matching the most frequently occuring English words first, which is expected to find the answer faster on average.

Design and print a replacement watch band.
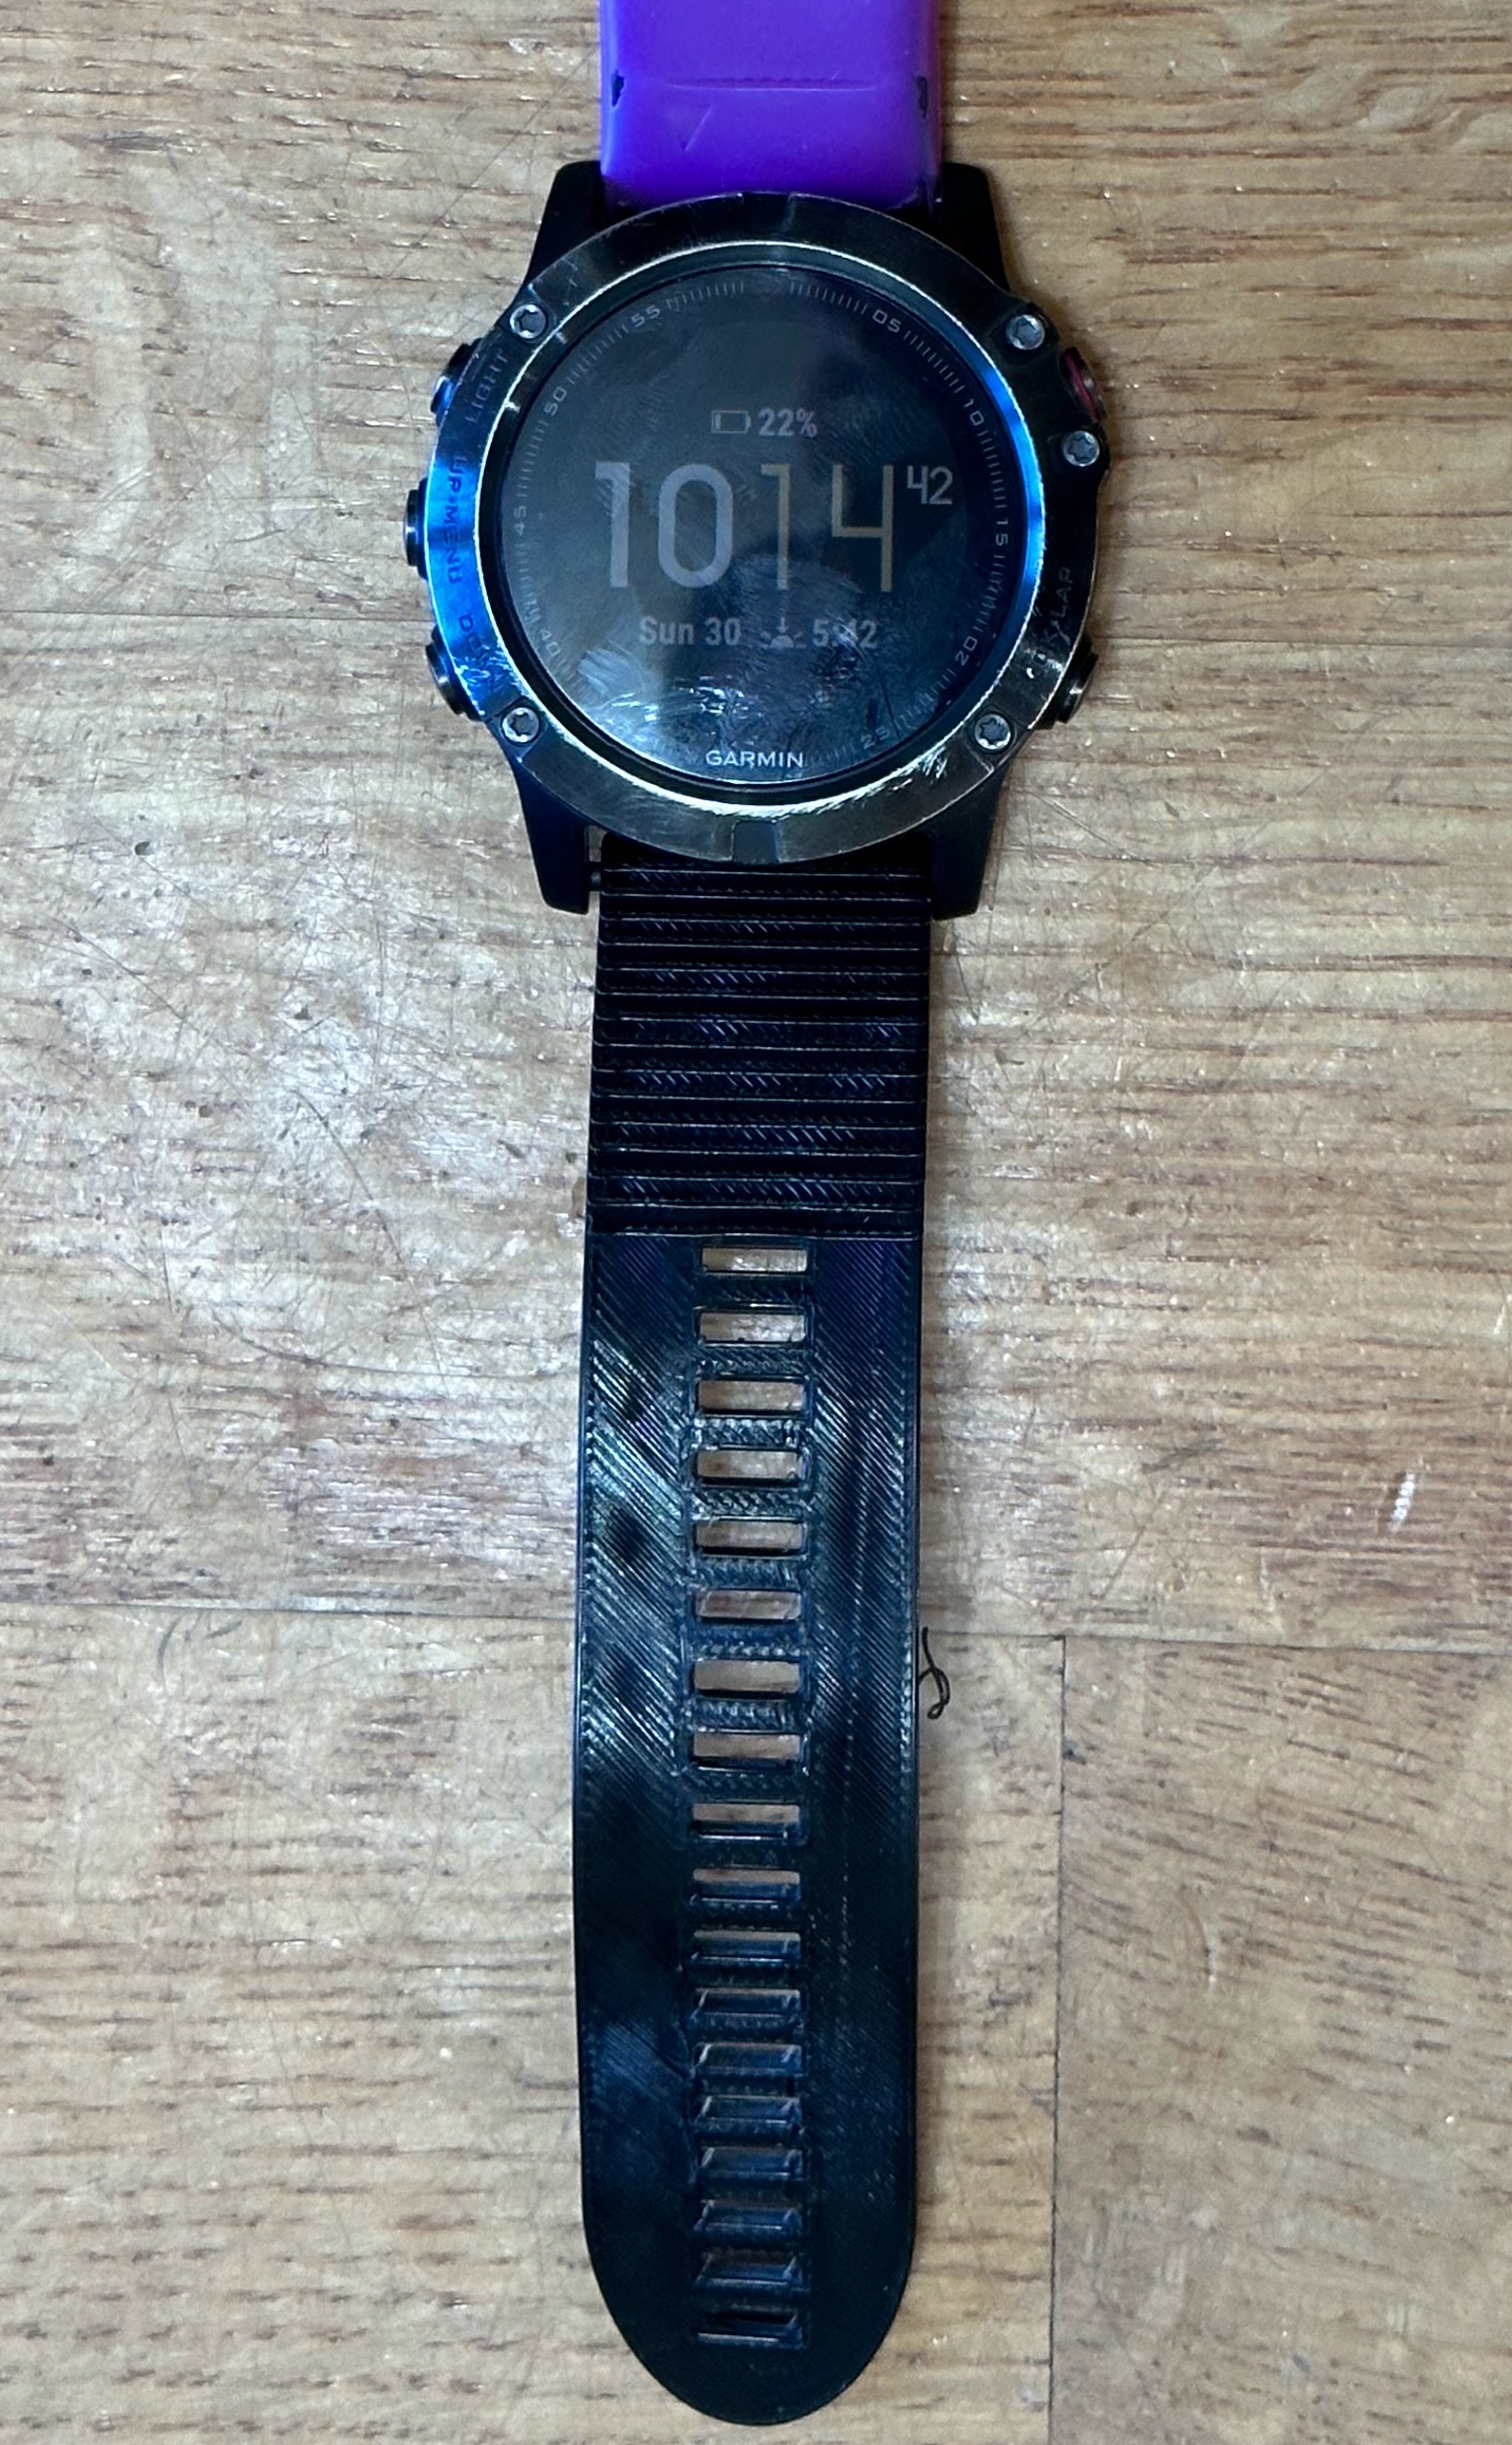
After breaking multiple watch bands and buying (quite overpriced) replacements, I decided to design my own. I used Fusion 360 to design an initial band that was identical to the commercial one and embedded user parameters (design variables) such as the length of the band, how many holes it has, how they are spaced, etc. I later used these parameters to customize the band, adjusting its appearance at the push of a button. 3D printed out of flexible black TPU filament with a triangular infill for strength, my custom watch band outlasted all of the commercial watch bands I had before. In addition to helping me in my everyday life, as I carried it around on my wrist, my watch band represented how helpful maker skills can be.
Cover the Werewolf cards to prevent distinguishable wearout!
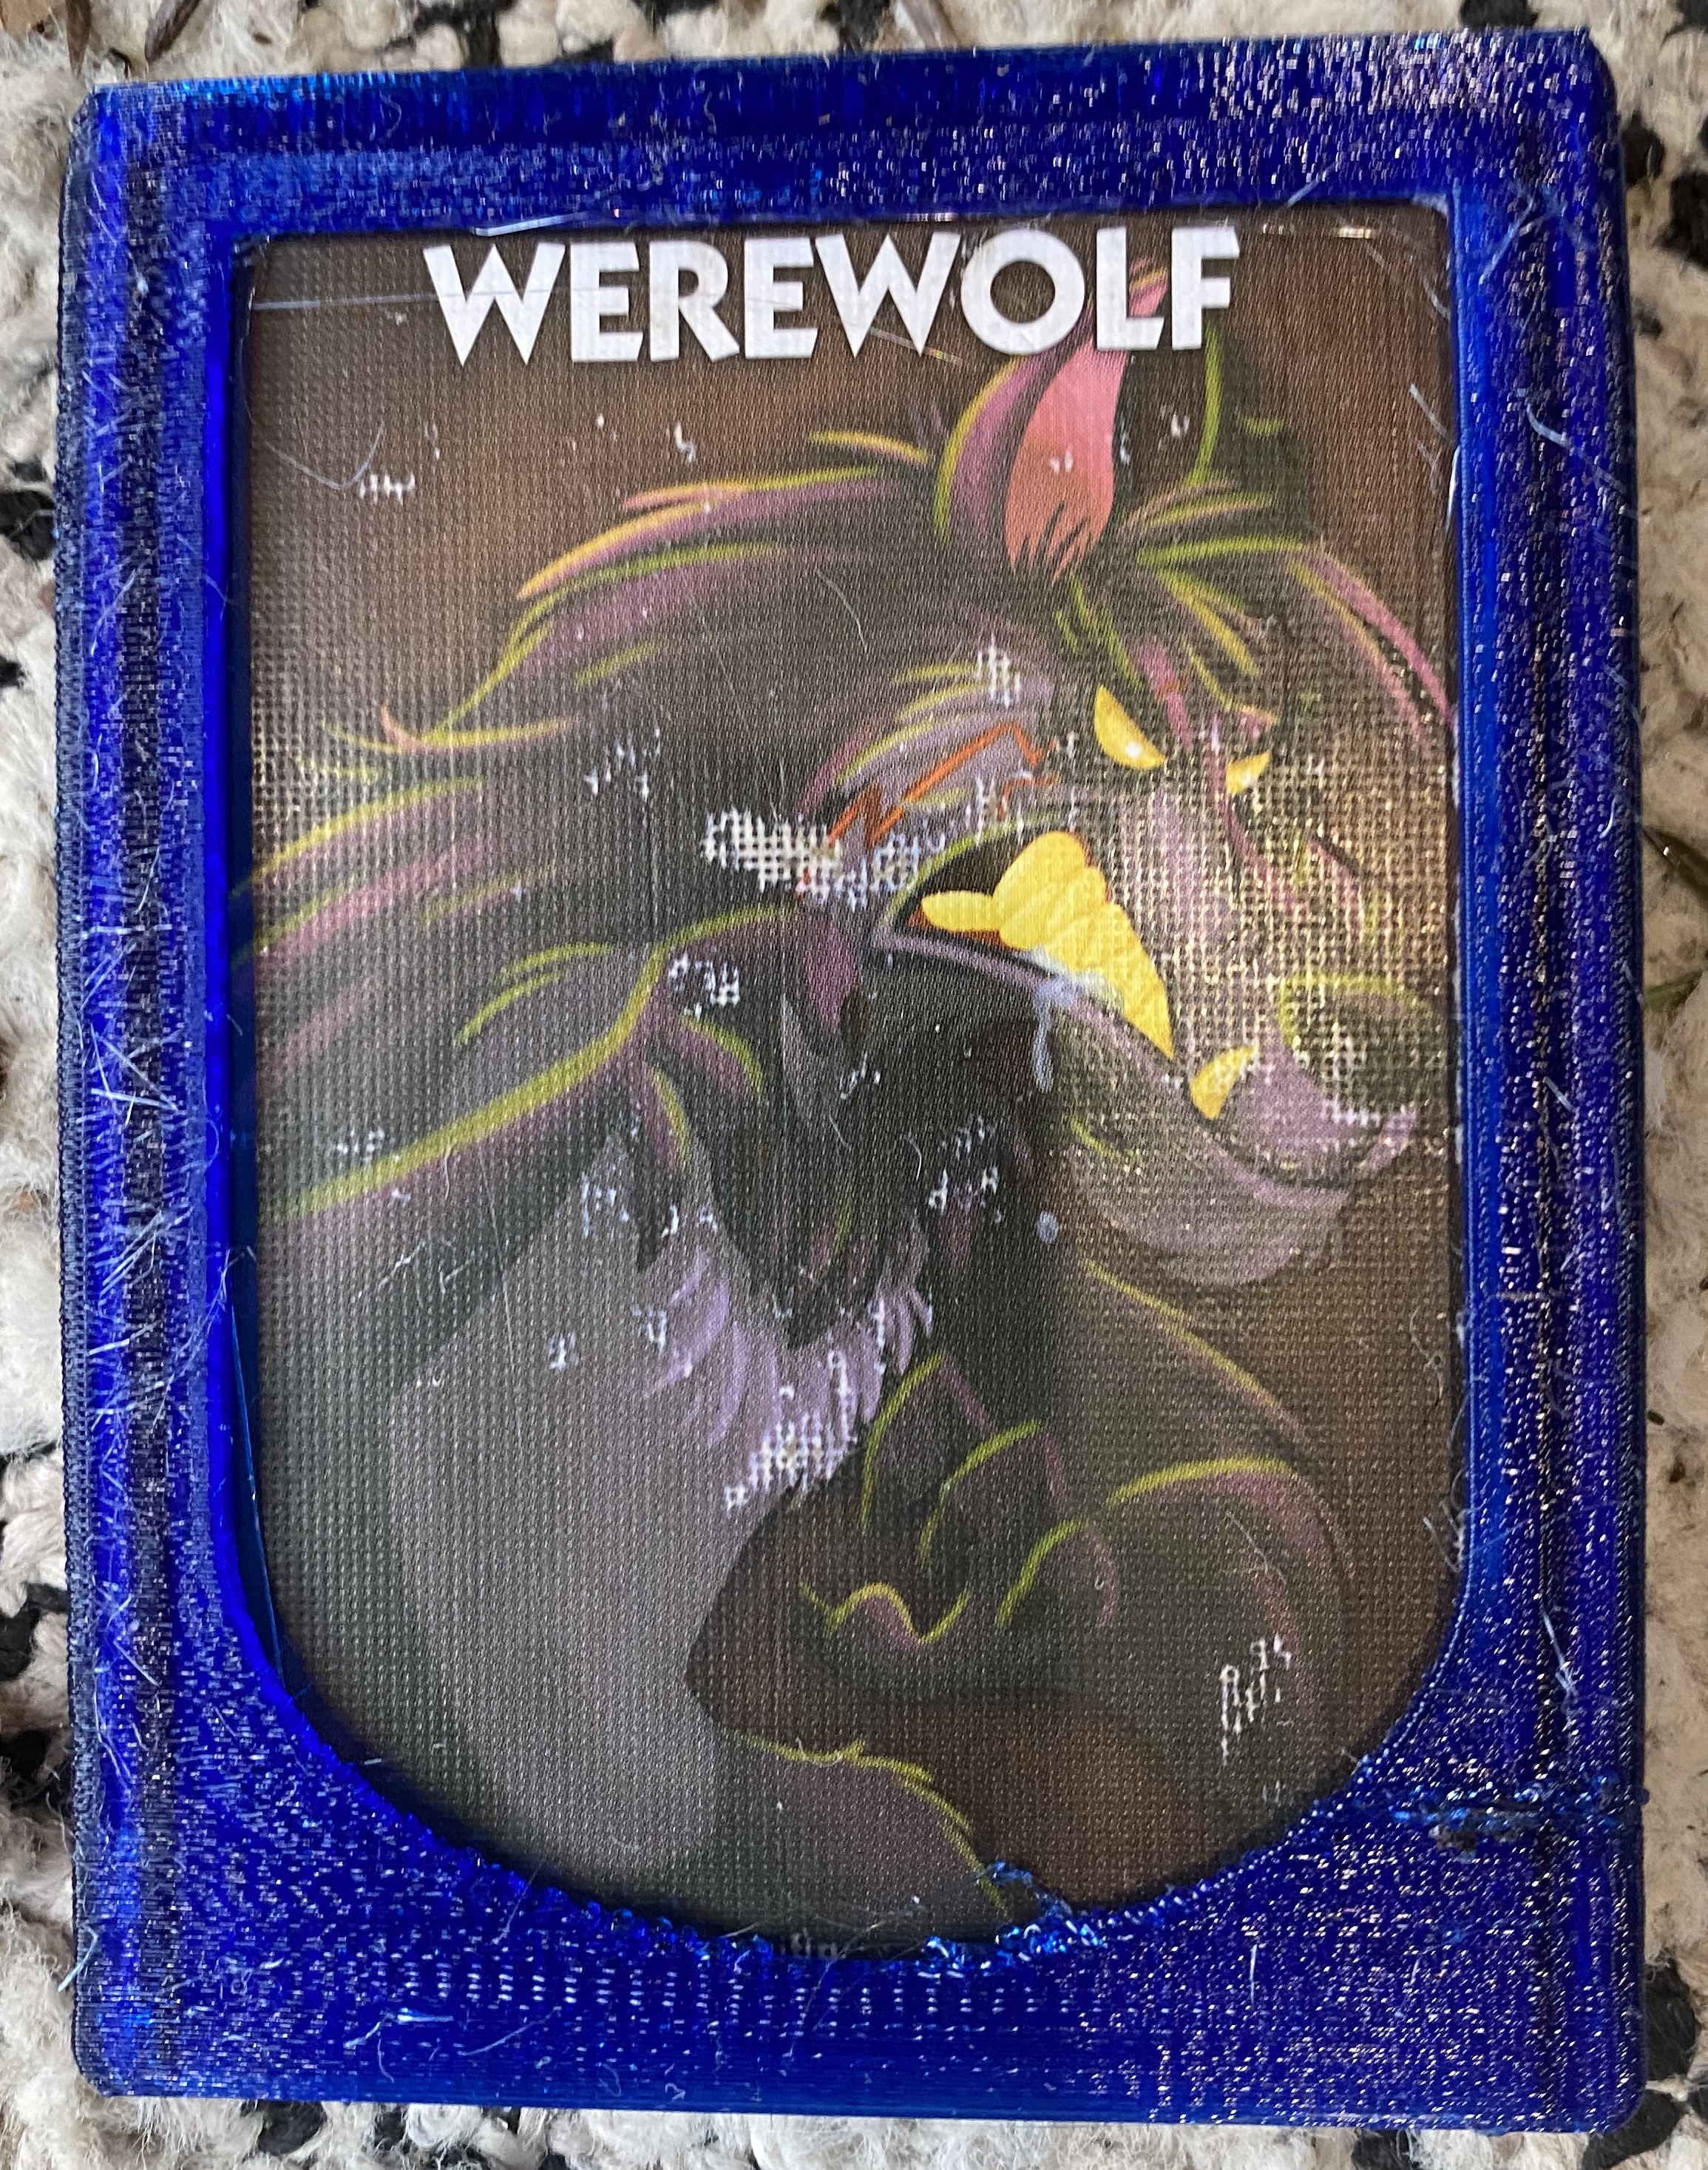
One Night Ultimate Werewolf is a social deception game where players draw cards that give them roles to play. One problem with Werewolf, and any card game, is that the cards become readable as they wear down in distinguishable ways. To prevent this form of cheating, I designed card covers to cover the edges of the cards, which erode first. I iterated to find the correct balance between the ease of sliding the card in and out of the cover and the friction that holds the cards in. I also tapered the corners because they were too sharp. 3D printing suits this project very well because it produces practically indistinguishable covers which makes the cards identical from the backside. Furthermore, if they get dirty or damaged, the covers can be easily and cheaply replaced.
Remake the candy claw arcade game to showcase robotics to kids!
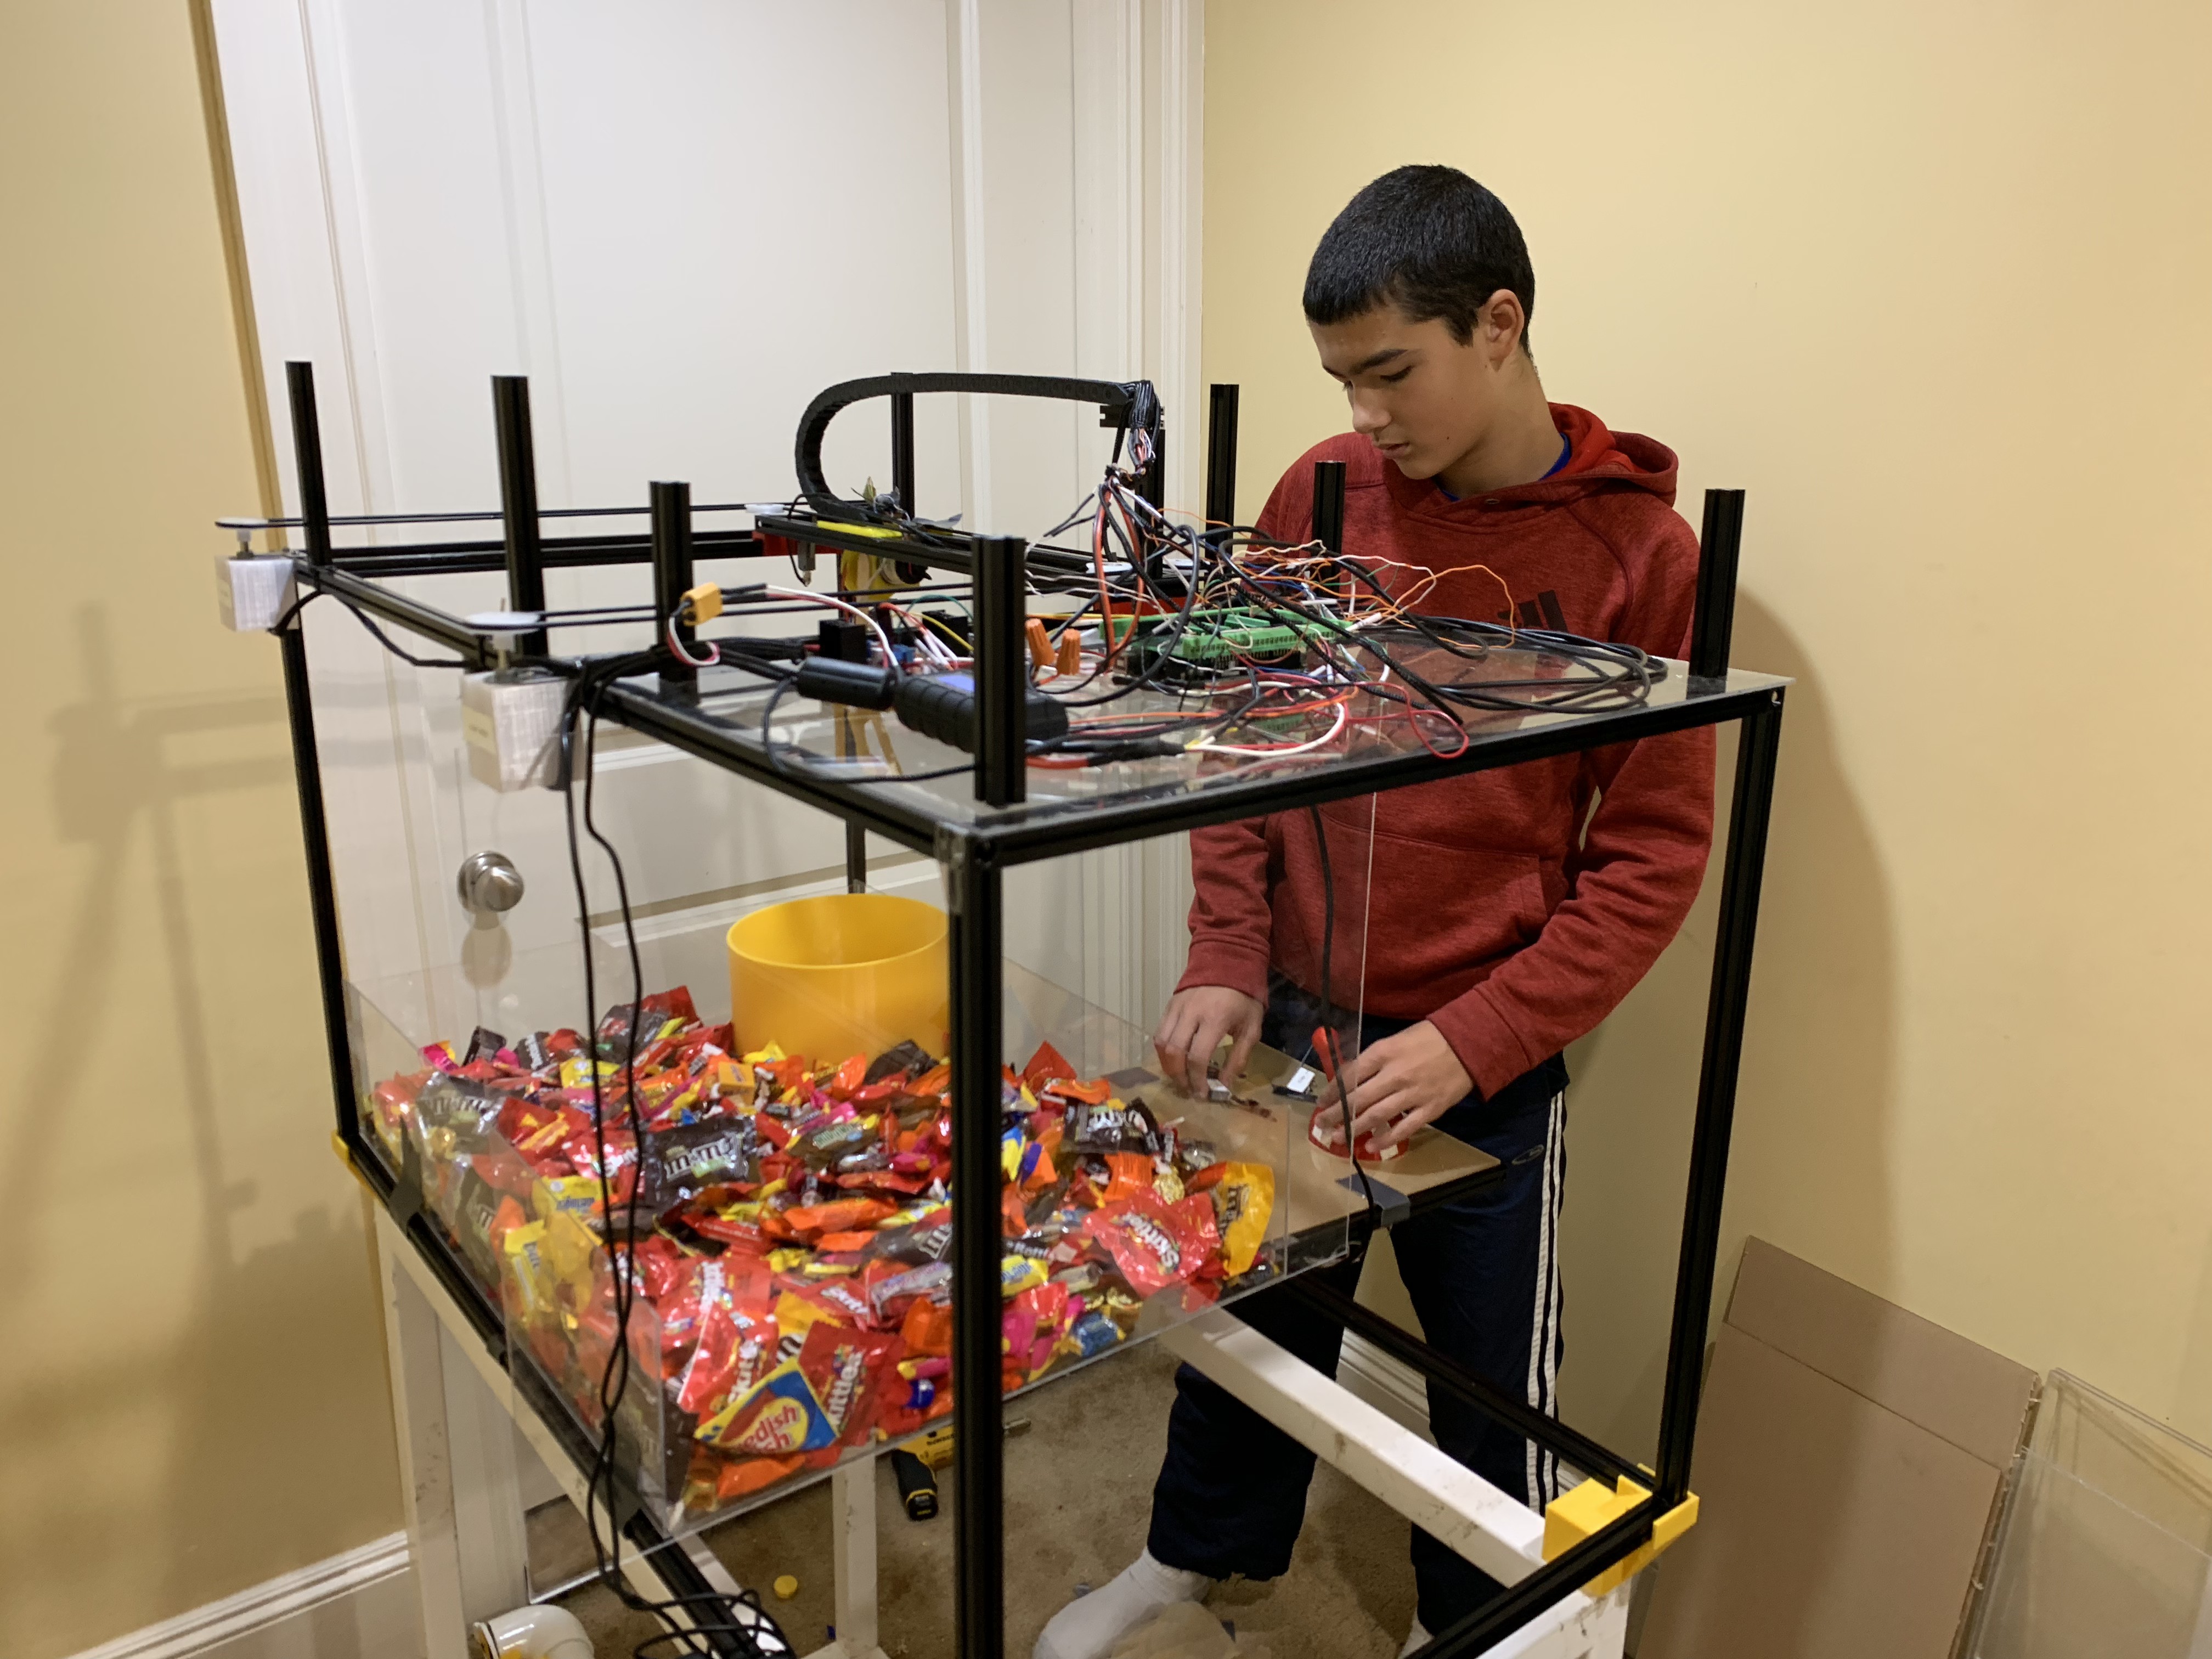
The clawbot utilizes an H-frame x-y positioning system (same as modern 3D printers) which uses 2 motors and a single shared belt to traverse the x-y plane. My dad, brother and I found this design while researching potential x-y motion systems, and chose it because of its simplicity and reliability. I enjoyed designing many custom parts for the clawbot, especially the joystick, which was printed as an in-place captive ball joint. Using a magnet mounted on the bottom and magnetic reed switches on the 4 poles, the clawbot can sense joystick direction. The clawbot is operated by an Arduino Mega 2560, which takes the boolean sensor inputs and communicates with 2 dual-channel motor controllers to control 3 motors and one servo. The clawbot was a great success which I took to many robotics events. Many of the kids respond with glee as they drive the claw and experience robotics hands on, prompting the parents to ask about how their child can get involved.
Assemble the Tesla Coil and make cool sparks!
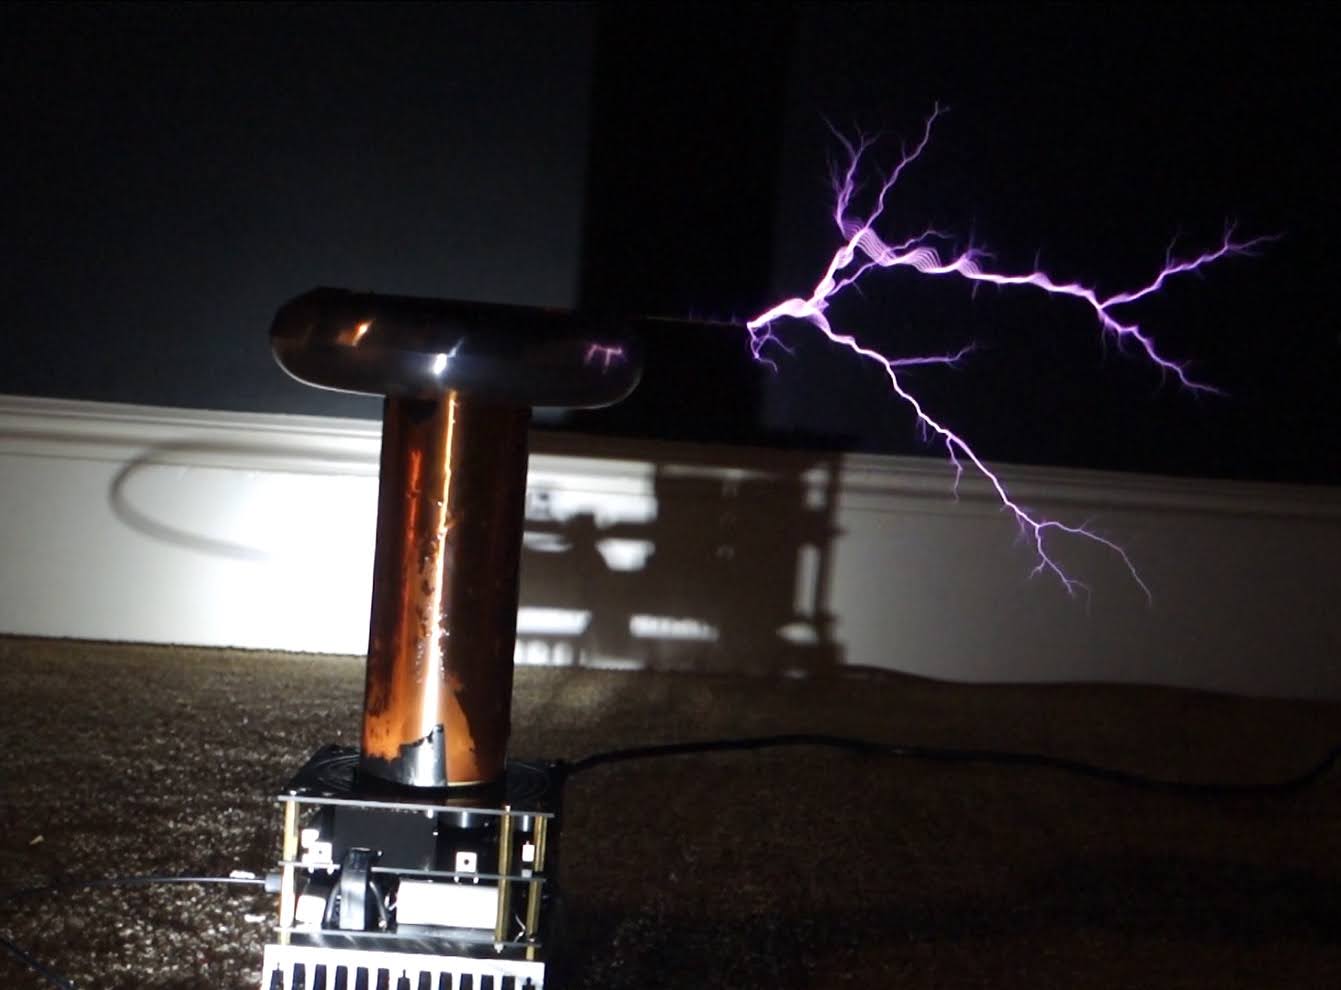
This Tesla coil came as a kit from OneTesla. Working with my dad and brother, we soldered large IGBT transistors, capacitors, and other electronics onto the circuit board of the Tesla coil. We added the secondary coil and the top load above it. Having not soldered much before this experience, my original solder joints were weak, but by the time I finished assembling the kit, I could solder strong joints quickly, a skill that I have used in many other projects and appreciate for its quick welding capabilities. Through controlling the frequency of its spark emission, the Tesla coil can make specific notes. We downloaded many popular songs for it to play and my family enjoys putting on a visual and aural show. Additionally, we connected an electronic piano keyboard to it using MIDI output, which enables pianists to perform in Tesla coil sparks.
Assemble the mini-submarine and explore our local pond with it!
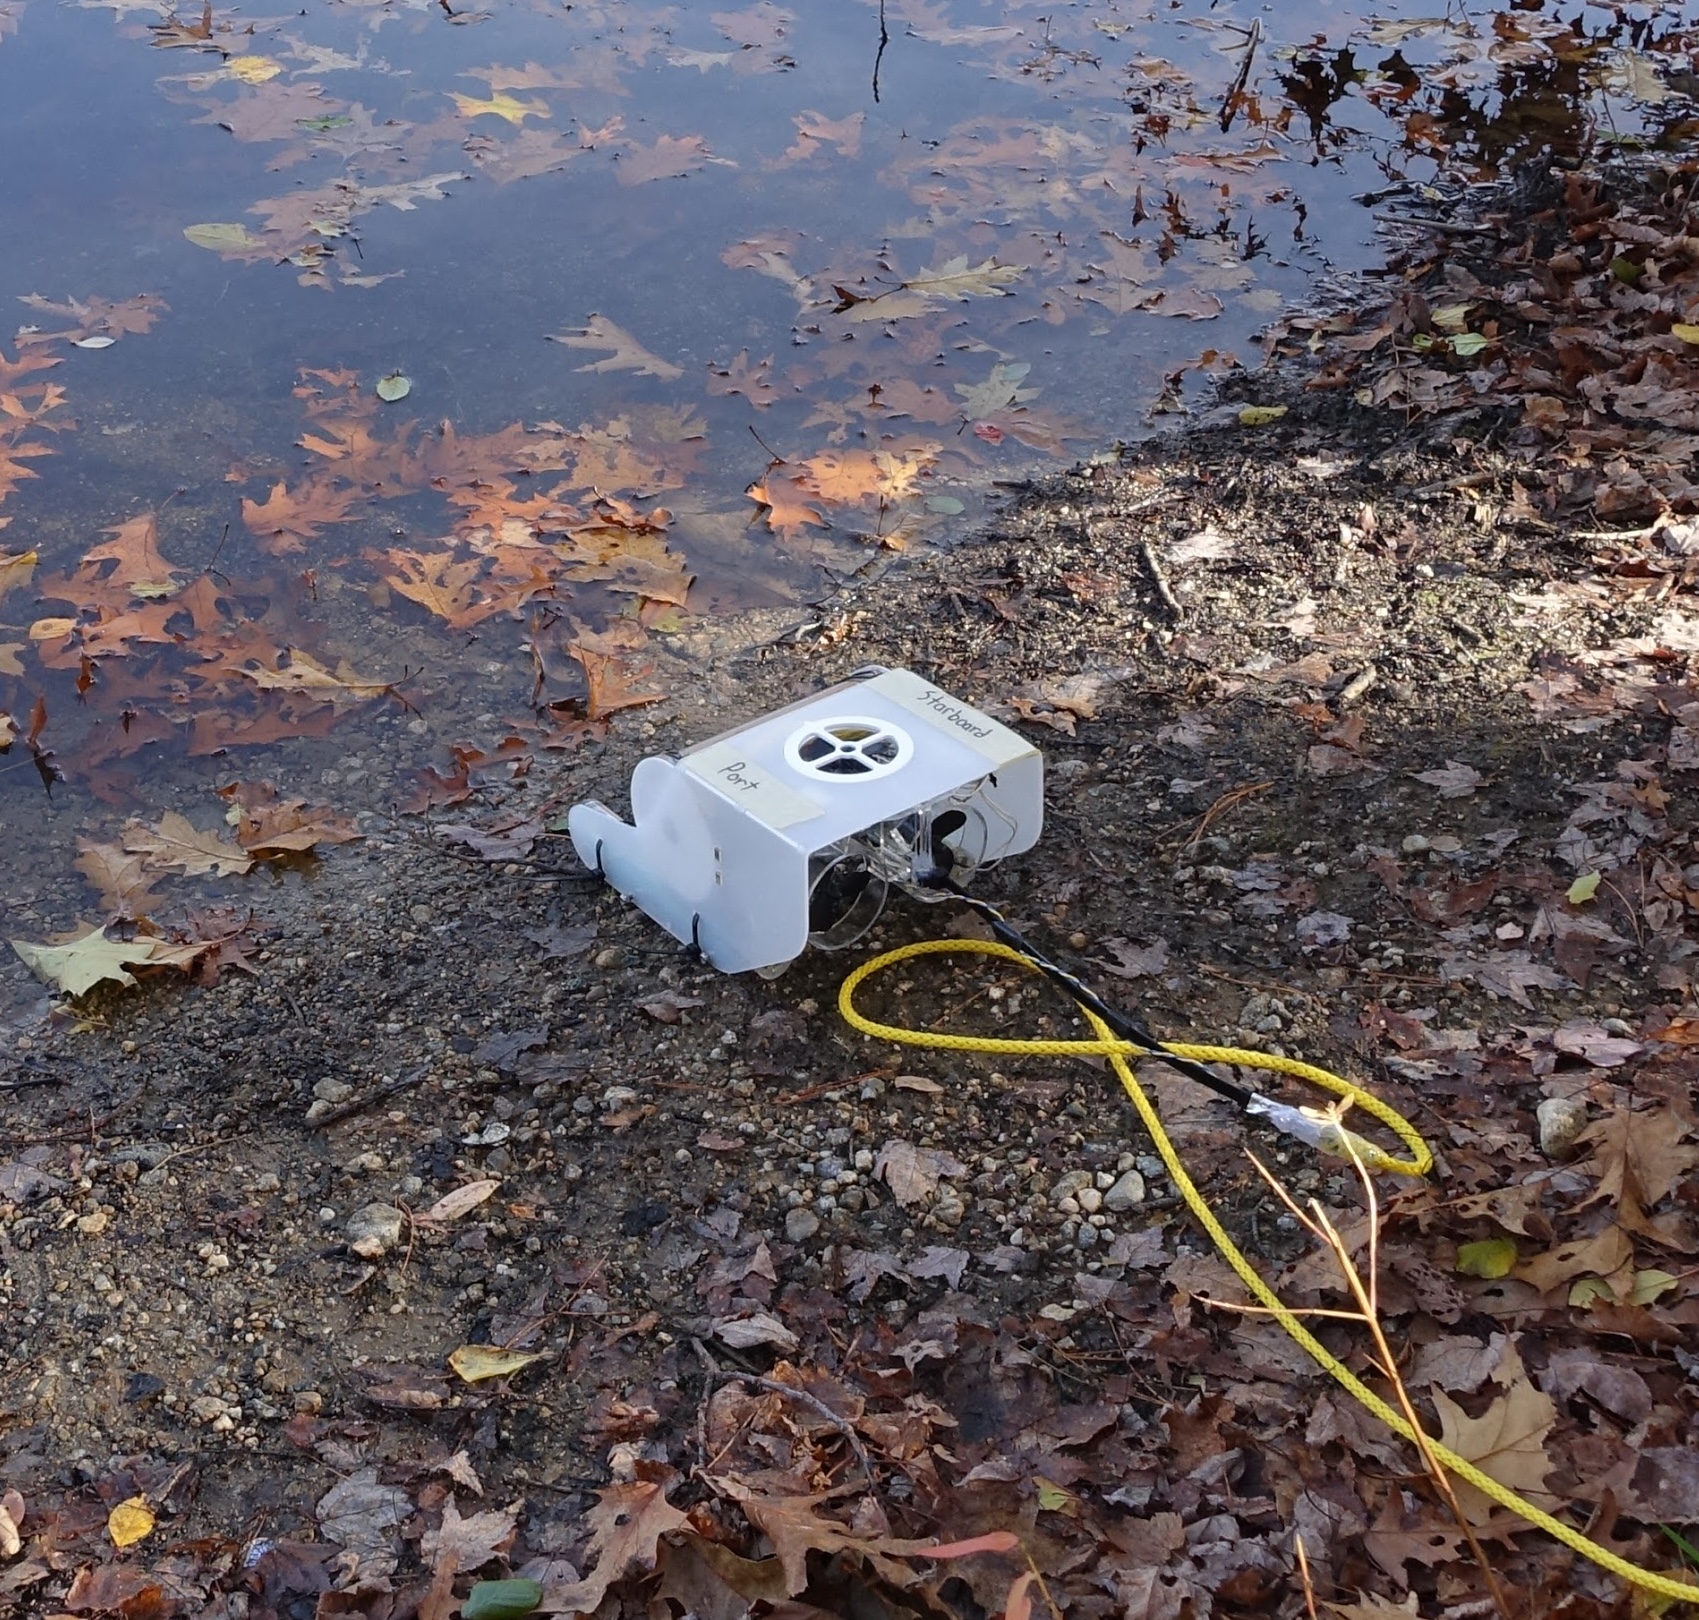
Ever since we were young, my siblings and I always loved to explore our local pond, but we were never able to see what was below the surface. When my dad found this kit, we decided to assemble it together. Made up of three waterproof tubes (one for the revolving camera, the other two for balanced flotation), the telerobotic submarine could control its depth using one propeller and move forward/back and turn with a set of two propellers. By attaching a wire to its back, we could control it with a downloadable Graphical User Interface. Before walking to our local pond, our family tested the ROV in our bathtub to confirm our seals were truly waterproof. Determining it was safe, we walked to our pond and explored below the surface, finding fish, turtles and lots of pond muck.
